Powered by Blogger.

Thursday, June 16, 2011

Blog Hops!

Smart and Trendy Moms

A Mommy's Sweet Blog Design Friday Blog Hop

Friday, June 10, 2011

Banana Quesadillas


I saw something similar to this on Paula Dean. So, you know it is extremely healthy :-) Hers was with bananas and chocolate. I added peanut butter chips and coconut to mine.

First combine 1 Tbsp butter (softened) with 1 Tbsp brown sugar and 1/2 tsp cinnamon.


Next spread this mixture on one side of each of your tortillas.


Heat a pan over medium heat, place one tortilla butter side down, then fill with banana slices, a small handful of chocolate chips, small handful of peanut butter chips and some shredded coconut.


Top with the other tortilla, butter side up. Let cook a couple of minutes on each side. The butter and brown sugar creates a crispy, yummy outside with a melty inside. However, crispy, yummy goodness turns into burnt sugar yuckiness very quickly, so watch it closely. Also, wipe out the pan between each one, so the sugar left from the previous one doesn't burn the next one you make.

These were very good, but definitely need to be shared. Don't even try to eat a whole one by yourself!

Tuesday, June 7, 2011

BBQ Chicken Salad Sandwiches


The idea for this sandwich came from my sister-in-law. I have not tried her version and I don't totally remember how she makes hers. I know she uses red onion (I used green) and she doesn't do the coleslaw. So, they are pretty different, but the inspiration comes from her anyway.

Ingredients:

shredded chicken (I used 2 breasts and 2 thighs from a left over rotisserie chicken)
2 Tbsp Mayo
1/4 cup bbq sauce
2 Tbsp sour cream*
1 Tbsp milk*
2 celery stalks, peeled, chopped
1 green onion stem, chopped

2 cups shredded cabbage (or coleslaw mix)
2 Tbsp Mayo
2 Tbsp sour cream
2 Tbsp milk
1/2 tsp each garlic powder, salt, pepper, onion powder

Sub rolls

Directions:

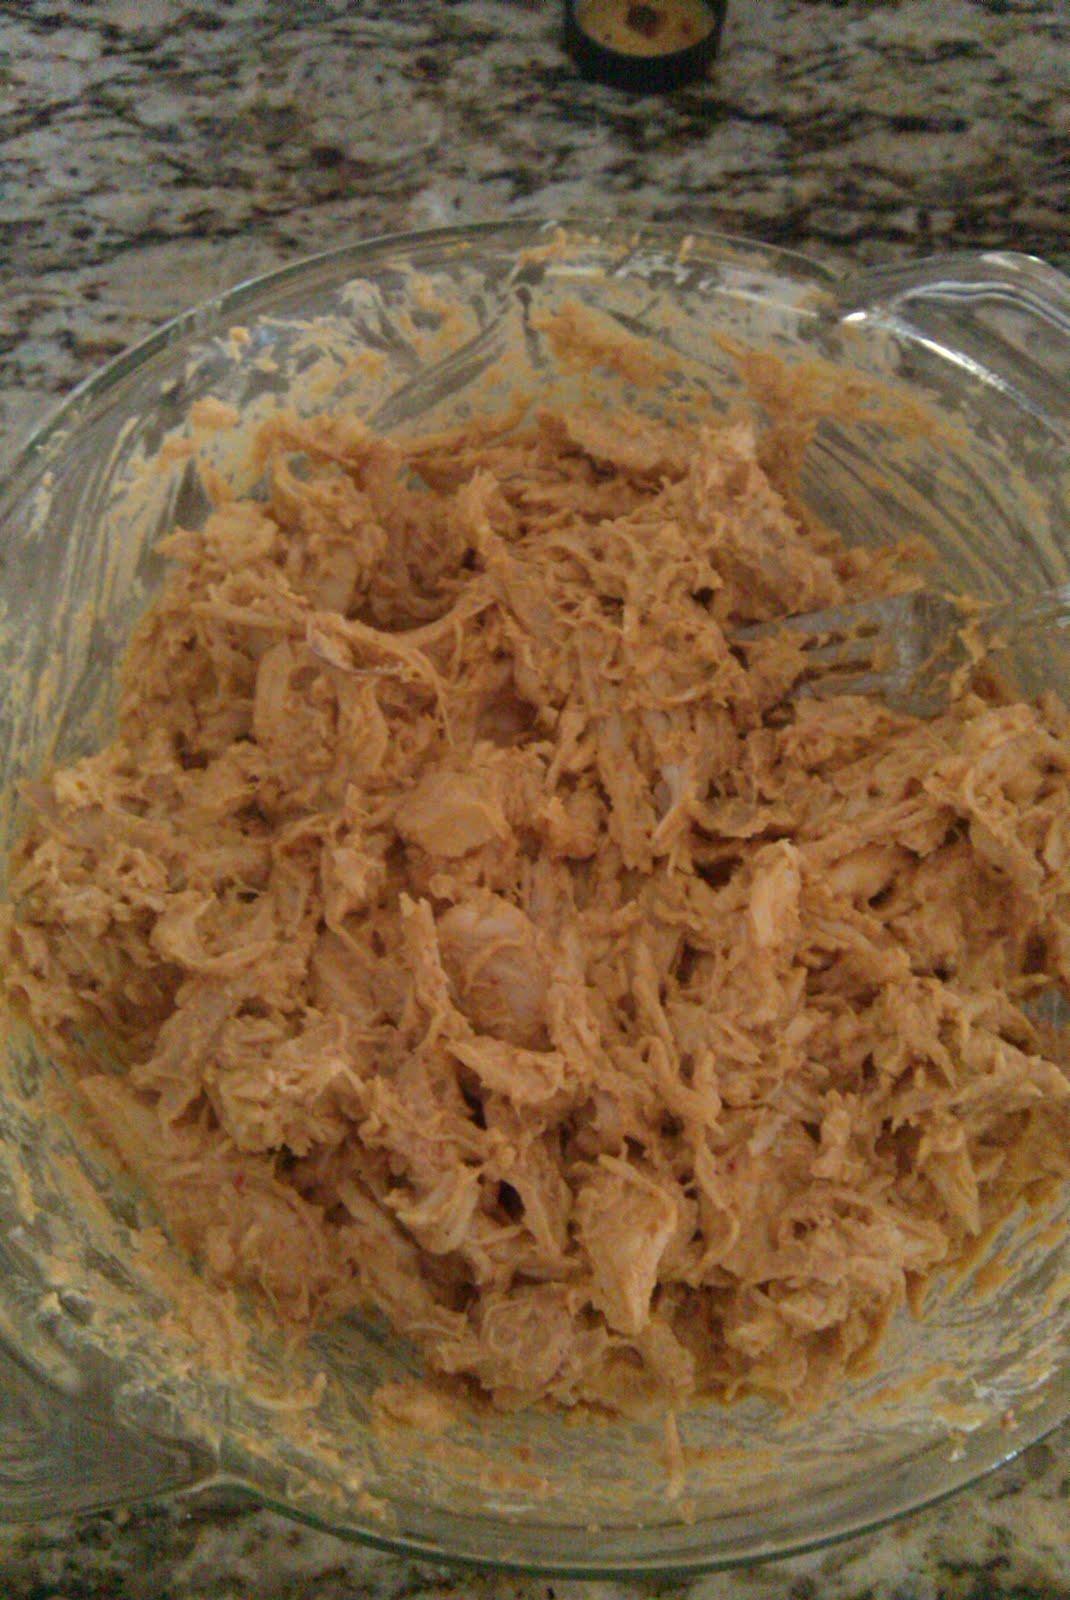
Shred up chicken. You can use breast meat only or whatever leftover chicken you may have or canned chicken. Stir in 2 Tbsp Mayo (for 2 breasts and 2 thighs worth of chicken) to barely coat.


Next, you'll add the bbq sauce. The sauce I used was a spicy chipotle bbq sauce. It was very spicy and very thick. So, I thinned it out (and cooled it down) with 2 Tbsp of sour cream* and 1 Tbsp of milk*. If I was using a thinner, mild bbq sauce (more like the bbq sauce I am used to), I would not do this step. Stir in the bbq sauce to the consistency you like for your chicken salad or tuna salad.


Then add the celery and green onions


Before you chop up the celery, peel it. This is one of those things I think everyone knows, but given the number of times I get celery strings in my food either at a restaurant or a potluck or whatever, I'm guessing everyone does not know this. So, peel your celery people! It is quick and well worth the extra step!


Next, make an easy ranch coleslaw. In a bowl, combine 2 Tbsp mayo, 2 Tbsp sour cream, 2 Tbsp milk and 1/2 tsp of each: salt, pepper, garlic powder, onion powder. Stir well and pour over 2 cups shredded cabbage or coleslaw mix. You could also just use your favorite premade ranch dressing (but this is better, trust me).


Do this step just before serving so the cabbage stays crunchy.


Stuff your sub roll with the bbq chicken, then top with ranch slaw and stuff it in your face!


The amount of chicken in this recipe made a lot. We made 4 big subs and used only about half the chicken mix (but all of the coleslaw). So, cut the chicken recipe in half if you want to make 4 sandwiches. Or double the coleslaw recipe if you want enough to cover all the subs you can make with all of this chicken.

The whole family loved these. This is one recipe I was a little worried as I made it about how it would go over with everyone. I was even a little concerned I might not like it. But, it was a hit. Every.Last.Bite was eaten by all. And those were some big 'ol sandwiches.

Hope you all enjoy it too :-)


P.S. Congrats Sun Devil Softball!!!

Friday, June 3, 2011

End of the Year Teacher Gifts


This year's teacher gifts were kick off to summer totes, coffee lovers mug and a basket of supplies:


For the homeroom teachers, we filled beach totes with a towel, sunscreen, aloe gel, a fun little pineapple water bottle and a personal mister. Then we attached a tag that reads "Thanks for a great year. Have a fun summer!"

The wonderful Admin. Asst in the front office and also our substitute teacher got a basket with fun supplies (a cute clipboard, sticky notes, pencils and a rubber stamp):


And for our coffee loving music teacher and gifted teacher, a fun number mug stuffed with a Starbucks gift card:


And the kids all ready to hand them out the last day of school. Doesn't Blake look so excited?

Sunday, May 29, 2011

Nutter Butter Flip Flops


For our end of the school year pool party this weekend, we had a beach theme. Nothing says a day at the beach like flip flops!

We covered nutter butter cookies in white candy melts tinted in pastel colors. We used green, blue and pink. Then, using fondant, we made the straps and a little yellow flower.


They were a fun addition to our beach themed kick off to summer break. We also had super easy fruit kabobs for snacking poolside.


Hope you all are enjoying your Memorial Day weekend!


Linking up to these great parties:


Photobucket


Join  us Saturdays at tatertotsandjello.com for the weekend wrap 
 up           party!

Chic on a Shoestring Decorating


Friday, April 29, 2011

I've Been Featured!

Yay how exciting! A fabulous blogger has featured one of my projects this week! I feel so honored and to be honest, now I feel pressure to perform and keep linking up projects. Ugh! You all know the pace at which I work :)

But seriously, it was such a nice surprise to get the message that my Spring Apothecary Jar was being featured at Simply Designing. Thanks Ashley!

Now everyone go check out her super cute blog and link up some projects of your own! Happy Friday!


Thursday, April 21, 2011

Dining Room Wall Finally Done!


We took down the wall between our kitchen and our dining room about a year and a half ago. Now that our dining room is no longer a separate room, we repainted and totally changed the decor in that room. This one wall has been "in progress" ever since.

The first thing completed were the shelves. I found the little items over time and finished off the shelves the way I wanted over a year ago. But figuring out what to do with the space below it took much longer.


It looked like this for a long time. Picture frames with the pictures that come with the frame (I know, it's crazy). I bought the big letter "M" with the plan to paint it black a long time ago, but wasn't sure what else would go there.

I found this planter at a cute little shop by my house.


I finally put pictures of people I actually know in the frames, painted the "M" and now it's done! Only a year and a half later :)


Linking up here:


Sunday, April 17, 2011

Spring Apothecary Jar


I first saw this idea here, but have since seen multiple versions of this same project. So, here's my version:

I bought this silver candlestick and glass jar w/lid


I spray painted the candlestick in ivory silk. I was very happy with this color choice. I deliberated for way too long in the store over ivory silk or antique white, but I am happy with the results.


Then I attached the glass jar to the candlestick with gorilla glue, set a heavy book on top and let dry.


I added a little nest and bird eggs I bought at the craft store. Hung a little chalkboard message - I hated the gold thread that was attached to the chalkboard, so I just taped it to the back and used this blue ribbon instead.


There it is, my fun little Spring/Easter decor. I plan to make one for Mother's Day too. Not sure yet what I'll put in it, but I'll be sure to share when I figure it out :)


Linking this project up with these great parties:

The Girl Creative


Pink Hippo Party